Category: Uncategorized
Infographic Review
I learned that to make colors look more darker you layer the photoshopped pictures and then combine them together.
A skill I learned is holding down on shift to keep the picture normal while you move it.
Advertising. If you make a business or if your making a protest, you can use photo shopping and the infographics to advertise.
I enjoyed making the infographic because I liked learning how to photoshop.
I would use Photoshop and Illustrator again because I doesn’t take a long time to figure out how to use them.
Infographics were fun and I would definitely make them again. I thought it was fun to find facts and pictures to go with it.
A part of this project that I found difficult was photoshopping the small parts and details on pictures.
A part that I liked was putting the pictures and facts into Illustrator.
Scratch Reflection
I think that my scratch game turned out really well in my opinion. I think this because I know that I spent a lot of time on it and time and effort makes something amazing. I have done test runs over and over and every time it is perfect. At one point in this process though I was adding a new backdrop accidentally coded it into another block which just made everything wrong and confusing when I ran it. Luckily, I finished it! I’m really relived now. The thing that I’m most proud of in my game is where Dan asks: “What was your favorite planet?” Then I was able to code in a block where people can actually type in their favorite planet that they saw! The picture below is of the coding for my character, Alex.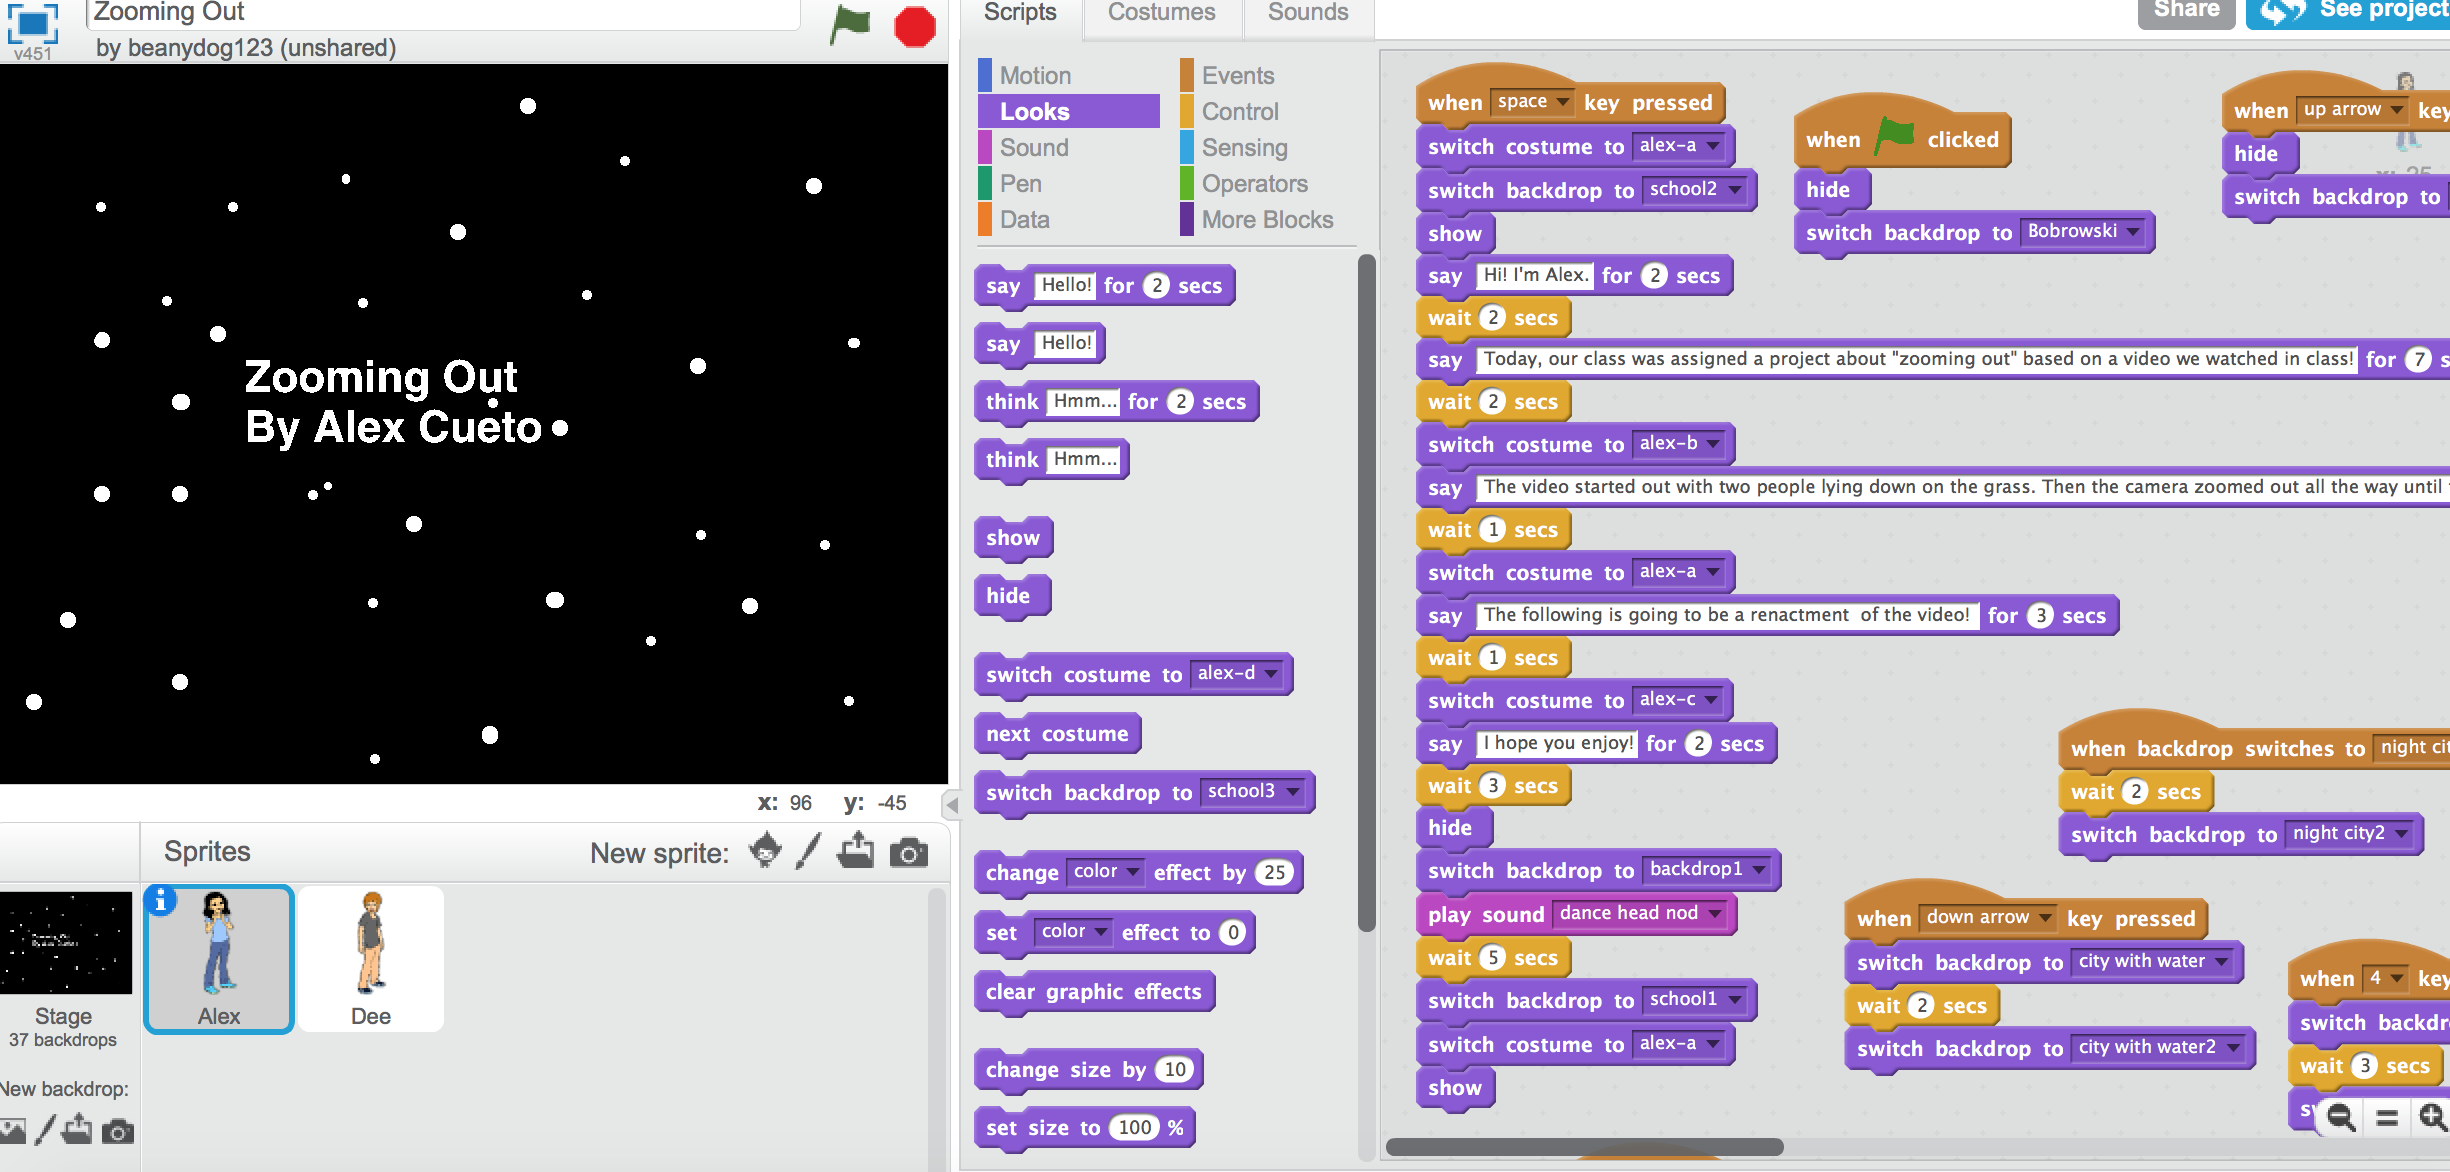
Fall Composition
This is my composition. My main instrument is the flute. I chose this instrument because I actually play the flute so this was really easy for me and I could even practice at home! My song also includes the violen and clarinet. My original main instrument was the clarine but I changed it to flute because I thought that the clarinet would make a better background part. I really like my composition and it took a lot of editing and close listening to make it how it is now. I hope you enjoy!
Welcome to your digital portfolio!
Welcome to your brand new digital portfolio/blog at blogs.lrei.org!
Your portfolio can be used for many things through out your middle and high school years, including:
- Documenting and reflecting on your learning, passions, and interests, both in and out of school
- Curating and highlight work for your Family Conferences
- In some instances, your teachers will ask you to submit, reflect and comment on work in this portfolio
It is our hope that you also seek to make this a personally relevant learning space in which you curate work that is important and meaningful to you. As you build this learning space, we also hope that you will use it as a way to connect with other learners in the LREI community and beyond.
Your LREI account (Mail, Docs/Drive) credentials will automatically get you into your blog. Here are a few things you’ll want to take a look at:
1. Change the name of your blog. To do this, go back to the Dashboard and click on the “Home” symbol, then on “MS Digital Portfolio Template” under “This Blog.”
In the field for “Site Title,” add a new title. You can use your first name if you want (e.g., “Mark’s Digital Portfolio”), but don’t use your first and last name. You can also create a title that doesn’t have your name in it. Be as creative as you want, but keep in mind that the title should relate to the purpose of the portfolio.

After you’ve added a new title, click “Save Changes” at the bottom of the page.
2. Add a Post
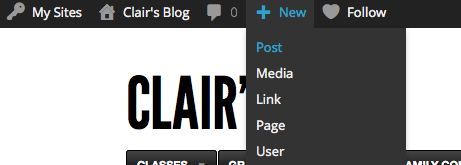
For the most part, you’ll be adding items to your blog as posts. To add a new post, you can click on the +New button in the top bar of your blog, and then select “Post.”
You’ll want to give each post a title, and assign it to a Category. These categories are broken down by class and grade (e.g., fifth grade, core, etc.). This will allow you to organize and sort information so that you can control the look and feel of your blog. If you take a look at the menu bar under the blog title, you see the different groups of categories (e.g., class, grade, teacher, etc.).
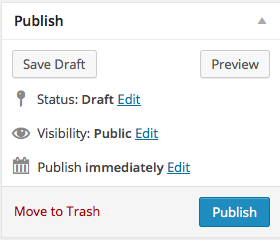
When you’re done with your post you can click “Publish” on the side to make the post appear on your blog
For assistance, come see Clair in the Tech Lab, check out our comprehensive support site, or take a look at our Edublogs User Guide guide.
You can also subscribe to our brilliant free publication, The Edublogger, which is jammed with helpful tips, ideas and more.