In Science we have been working on a project called Ecology Action. In groups we were trying to find more innovative solutions to bring nature into the city. My group chose to compare dirt grown plants and an aquaponics system. This is my group’s presentation.
Category Archives: Acosta
My Group Muir Web
This is a Muir web I created in a group. For this project we chose something and explained all of its connections. The goal of this was to add as many connections as possible. I think our group added a lot of detail. I think the object we used was a hard one because there were a lot of chemicals not listed on the ingredients list. Even though we didn’t add a lot of the chemicals in our object, I think we had a lot of connections. I am personally proud of this because I took this home and redid it to make it neater and clearer. Overall, this project was fun and successful.
My Personal Muir Web
This is my personal Muir web. For this project we had to record what we ate and then make it into a Muir web. A Muir web is a way to record the connections between many things and where things come from. We learned about what Biotic and Abiotic means and then used both in our Muir web. In addition to recording what we ate and where our food comes from we added some Abiotic factors like shelter. Overall, this was a fun and educational project in science.
Welcome to your digital portfolio!
Welcome to your brand new digital portfolio/blog at blogs.lrei.org!
Your portfolio can be used for many things through out your middle and high school years, including:
- Documenting and reflecting on your learning, passions, and interests, both in and out of school
- Curating and highlight work for your Family Conferences
- In some instances, your teachers will ask you to submit, reflect and comment on work in this portfolio
It is our hope that you also seek to make this a personally relevant learning space in which you curate work that is important and meaningful to you. As you build this learning space, we also hope that you will use it as a way to connect with other learners in the LREI community and beyond.
Your LREI account (Mail, Docs/Drive) credentials will automatically get you into your blog. Here are a few things you’ll want to take a look at:
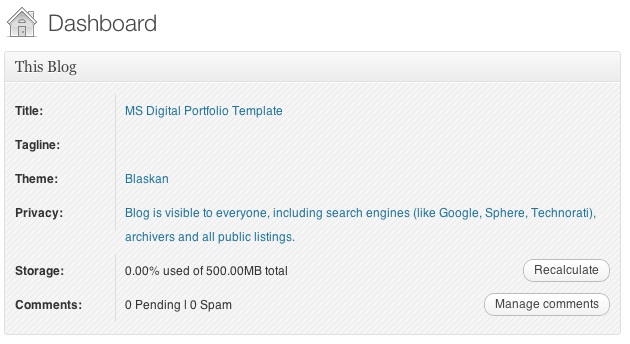
1. Change the name of your blog. To do this, go back to the Dashboard and click on the “Home” symbol, then on “MS Digital Portfolio Template” under “This Blog.”
In the field for “Site Title,” add a new title. You can use your first name if you want (e.g., “Mark’s Digital Portfolio”), but don’t use your first and last name. You can also create a title that doesn’t have your name in it. Be as creative as you want, but keep in mind that the title should relate to the purpose of the portfolio.

After you’ve added a new title, click “Save Changes” at the bottom of the page.
2. Add a Post
For the most part, you’ll be adding items to your blog as posts. To add a new post, you can click on the +New button in the top bar of your blog, and then select “Post.”

You’ll want to give each post a title, and assign it to a Category. These categories are broken down by class and grade (e.g., fifth grade, core, etc.). This will allow you to organize and sort information so that you can control the look and feel of your blog. If you take a look at the menu bar under the blog title, you see the different groups of categories (e.g., class, grade, teacher, etc.).
When you’re done with your post you can click “Publish” on the side to make the post appear on your blog

For assistance, come see Clair in the Tech Lab, check out our comprehensive support site, or take a look at our Edublogs User Guide guide.
You can also subscribe to our brilliant free publication, The Edublogger, which is jammed with helpful tips, ideas and more.