
Pageant Planning Document
My Story:
(In the space below, describe the story of how you came to the guild and your specific area of work focus):
I came into Stonemasoning because of my father. He was a stonemason, and he needed to pass on his talent to someone in our family, but my mother never had a son, so he choose me to pass this on.
I am a free mason, and I focus on sculpting stone oppose to roughly cutting it. Originally I was supposed to be a rough mason, who made simple things
My Job:
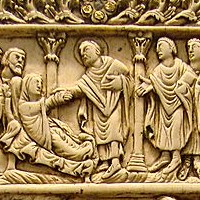
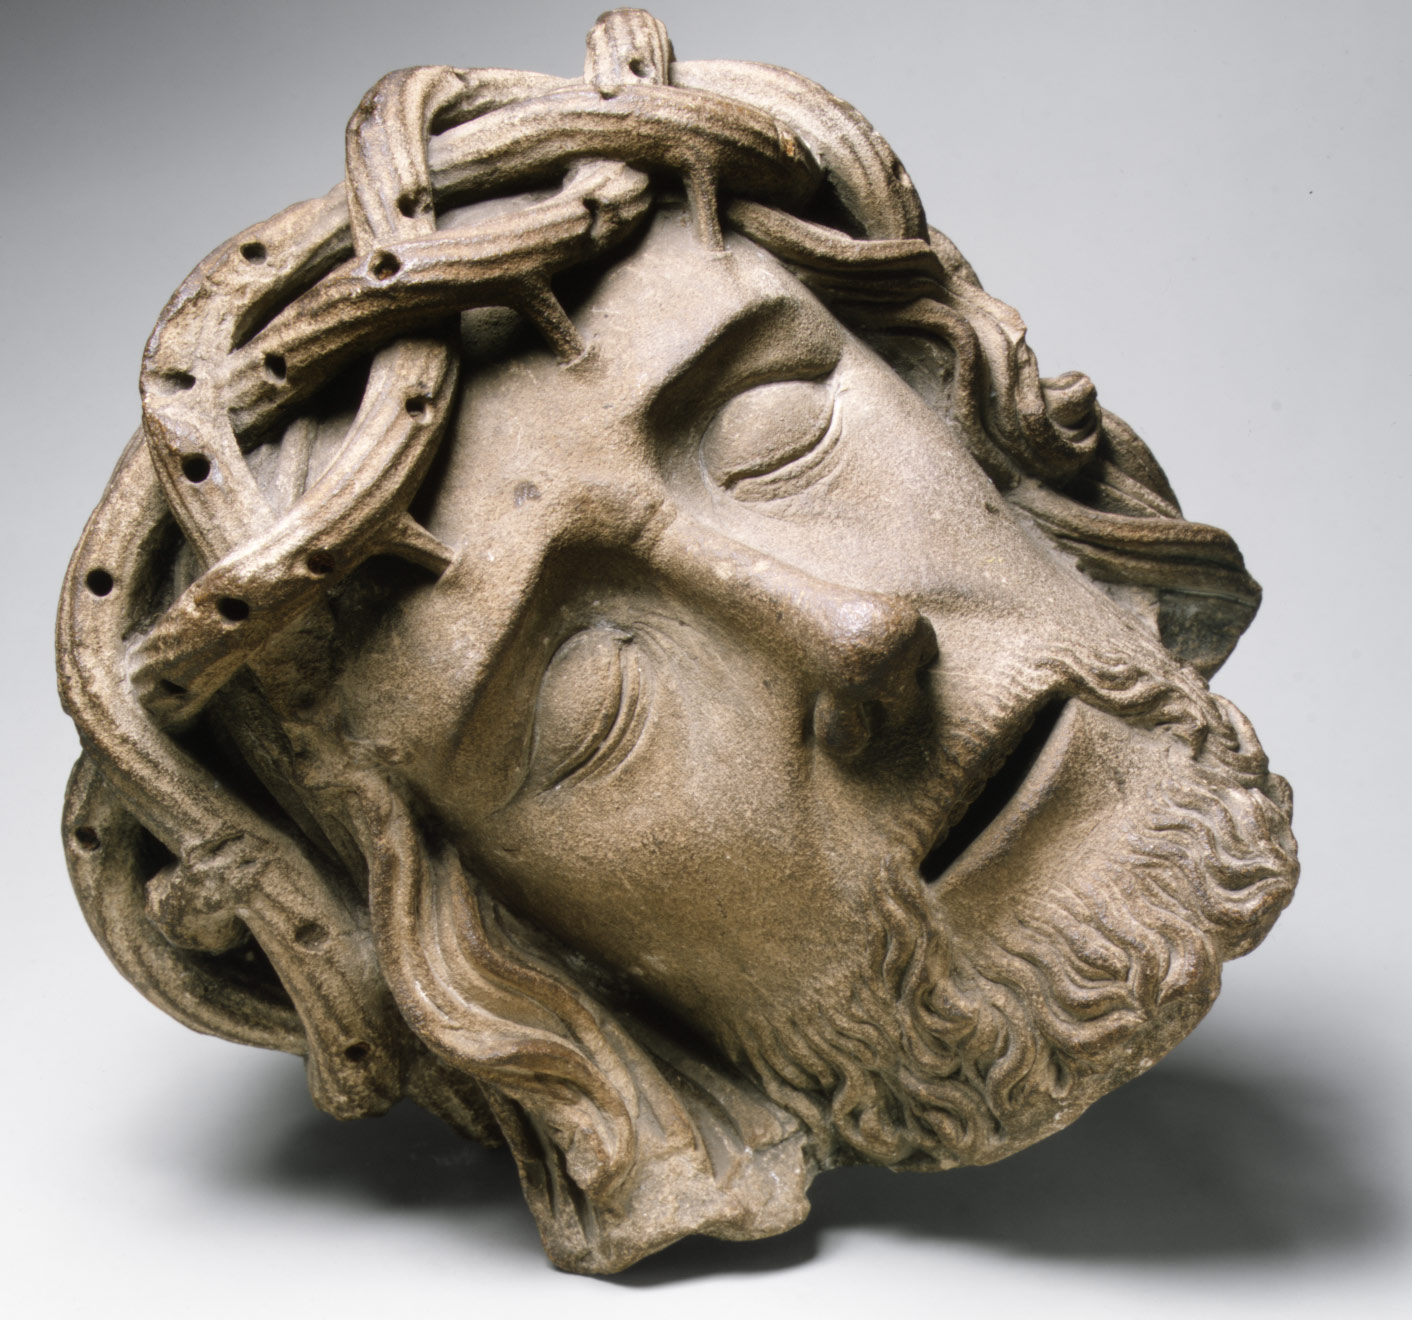
I am a free mason. Free mason’s work on sculptures and more inter cit parts of stone buildings. This generally means that I make the statues and interesting carving in arch ways and things similar to that. Free mason’s are very important to the building that is being made. Without the free masons, there would be nothing interesting and talent, and cathedrals and castles would be very bare looking and empty.
To do this work, I use the following kinds of tools:
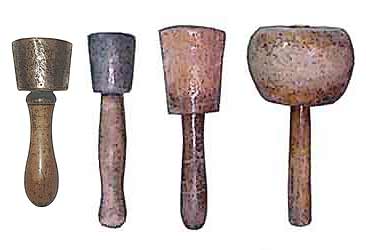
- Heavy Lump (a tool) – The lump hammer was used for hitting hammer-headed chisels in the rough shaping work. The softer the stone, the heavier the hammer.
- Squared up (a tool) – The square was one of the mason’s most important tools. It was used for making sure corners were straight.
- Scoring a curve (with tool)- The mason had to mark out the stone to show him where to cut or carve. To make a curved line parallel to the edge he used a box trammel. Holding to wooden handle firmly against the edge, he dragged it along. The trammel point moved across the stone, scoring a line.
- Dividers (a tool) – Dividers, or wing compasses, became the masons’ special emblem. They were used mainly to measure a distance on a template, and then transfer the measurement to a piece of stone.
- Pitcher This (with a tool)- Every single stone in a cathedral would have taken about a day to cut and finish. Because it was heavy and expensive to transport, the stone was cut approximately at the quarry. At the building site, the masons’ first job was to finish cutting the rough stone with a big curved saw. Then he used a hammer, a heavy, blunt chisel called a pitching tool, and a punch to chip off larger lumps and produced nearly straight edges.


Some other related and interesting facts about building cities, castles, churches and/or mosques that I plan to share with visitors to our guild:
- Sites were normally built near places that had a large supply of water, stone and other materials needed for the construction. This made it easier for the workers, and the people that run the whole thing, because they did not need workers to go to queries as much as they would have to.
- There were many different types of workers on site. It took a total of 3-5 people to make a rope for a well on the site. There were people who had to make the limestone, remove quary stone, rough-cut stone, sculpt stone, place stone– and that was just stone alone!
- Building sites hosted their own type of mini-home. The families of the workers all set up little huts near the site, which would later become the castle town. There were many people in these towns, and they grew over time. These people cooked food, cared for their small houses, and helped with clothes and other necessities. When the castles are built, these people are the future peasants of the town that over time will form.
- Mosques often had many rounded arches, and a large curve on top of the overall structure.
I will describe how stone carvers/free masons cut stone, and the process the stone goes through. I will talk about how I got the stone, what happened to the stone before I had it (It didn’t come out of the ground in a perfect block), how I dealt with it (templates, tools) and what happens to it afterward. I will also talk about how I never get to decide what I make, and everything I sculpt is under the influence of the architect. I have never in my life designed and created something to my own creativity in my guild.
I will need to create a “stone brick” to work with. This could be made of perhaps air dry clay, so that it is not impossible to cut. I will also need some type of wood stick with a large lump on the top (heavy lump), along with some type of chisel-looking thing. This could be made of many things, but preferably able to cut clay.
For my costume, I plan to . . .
wear something along the lines of this;

- The Master Mason asks the rough mason to cut stone.
- Rough Mason gives to good mason– both use template.
- Templates show what shape the stone should be.
- First the larger chisel, then the meduim one (to be safe) and then the last one to be perfect.
- You want to stay a good distance away to get it perfect because if he scrape your end point at the first step, you can’t perfect it or anything.
- Start the rough to take out the basic shape
- 2nd chisel is tooth chisel, like comb. Used to model form.
- Use a tool like sandpaper for stone to get a smooth texture.
- Arrow loops provide protection and a huge advantage to castles.
| Arrow Loops | A design feature of castle defense | https://www.youtube.com/watch?v=4gu46zGuOqk#t=15m16s |
| Carving Technique | Insights about stone carving | https://www.youtube.com/watch?v=PWUuGDovHEI |
| Carving Technique | Insights about stone carving with Chris Pellettieri | https://www.youtube.com/watch?v=hKc3p2Dcjvc |
| Stone Carving | Carving limestone with templates | https://www.youtube.com/watch?v=PlZxvc9VISE#t=01m03s |
| Stone Carving | Shaping stone with templates | https://www.youtube.com/watch?v=TrAoqIsbD9M#t=19m33s |
Hello! Good morning. My name is Allison Godfrey, and I am a Stonemason. I’m working at the castle just a while away from here. I have here some limestone. I am in the process of carving it now, actually. It takes a good couple days to finish a piece, though. I can show you how I do it if you want. First thing that you have to do is use this template. These are provided by the master mason’s of the castle. I’m not allowed to carve anything of my own creation, and I most likely never will. The first thing you have to do is place the template on top of the stone. Then you have to keep cutting it in large chunks at a time. How we do this is by drawing lines across it. We cut along the lines. In order to cut, we need chisels, and a heavy lump. Actually, normally a rough mason cuts the rough and basic outline and THEN I do the smoothness and the actual work to it, but their running low on workers so I guess it doesn’t matter that I have to do some extra work. I use this to hit the chisels onto the stone. I use these to actually cut. I first use the bigger ones, then the medium, and finally the smallest one. This way, I can get the perfect groove, and smoothness, in the stone. Castles may seem like big, luxury places, but really they’re really defensive. There are all types of really cool things that you can use to defend a castle. The castle has so many layers, and there are all types of things– there’s a disgusting moat, the drawbridge, arrow loops, boiling hot water– you’d be an idiot to try and fight your way into one!
This piece of stone is actually going to be used to make an arrow loop, and from what I gather, dead important for a castle. I heard people just shoot through the loops– and that soldiers had a major advantage with them.
- Punch
- pitch
- the claw
- flat chisel
Limestone is harder to carve, yet cheaper. The best way to get the pieces cut for rough stone masonry is to use special tools that I do not have because I am a detailed stone carver.